Chapter 05
How a Futures Trade Works
Chapter 5 — How a Futures Trade Works
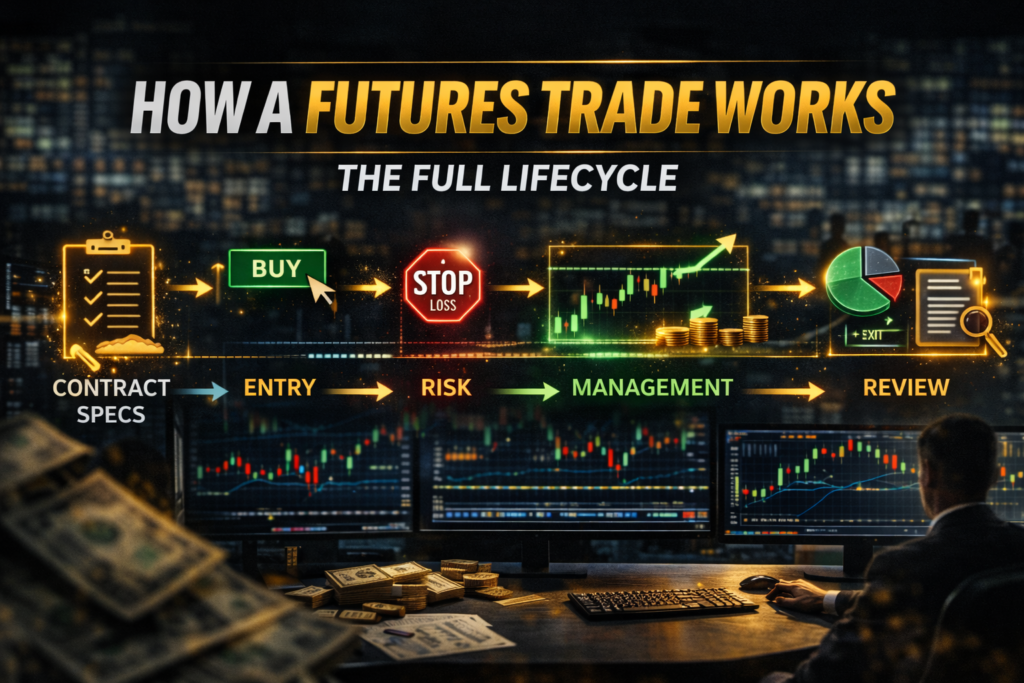
The Full Lifecycle: Contract Specs → Entry → Risk → Management → Exit → Review
Most traders think a futures trade is just:
“Buy here, sell higher.”
That’s the result, not the process.
A professional futures trade is a complete lifecycle with rules—almost like a checklist pilots follow before takeoff. If you skip steps, you might still “fly” sometimes, but sooner or later you crash.
This chapter will teach you the full mechanics of a futures trade in a way that makes you confident and consistent:
- Understanding contract specs (so you know what you’re trading)
- Choosing direction and scenario (so you’re not guessing)
- Selecting an entry trigger (so your entries are repeatable)
- Placing stops and targets correctly (so risk is controlled)
- Selecting order types (so execution is clean)
- Managing a trade (so you don’t sabotage yourself)
- Exiting and reviewing (so you improve like a pro)
You will also get real-life examples and practical templates to copy.
5.1 The “DNA” of every futures contract (contract specs you must know)
Before you trade any contract, you must know these specs:
- Contract size
- Tick size
- Tick value
- Trading hours
- Expiration cycle
- Settlement type (cash vs physical)
If you don’t know these, you don’t know your risk.
5.1.1 Contract size (what you’re really controlling)
Contract size is how much of the underlying you control with 1 contract.
Think of it like this:
- Stocks: 1 share = 1 share
- Futures: 1 contract = a defined amount of the underlying exposure
The contract size matters because it affects:
- how fast P&L moves,
- how much you can realistically hold,
- how volatile it feels.
5.1.2 Tick size (minimum movement)
Tick size is the smallest price movement allowed.
Example idea:
- If tick size is 0.25, the price moves 0.25, 0.50, 0.75… not 0.13.
This matters because:
- your stop and target must respect tick increments,
- your P&L moves in discrete steps.
5.1.3 Tick value (the money per tick)
Tick value tells you how much you make/lose per tick per contract.
This is the most important number for a trader.
Because it transforms the chart into money.
When you know tick value, you stop saying:
- “It’s only a small move.”
And you start saying:
- “That’s 12 ticks. That’s $60 per contract.”
That is professional thinking.
5.2 The two positions: long and short (and why futures make shorting easy)
Futures trading is symmetric:
- You can profit from up moves and down moves the same way.
5.2.1 Long (buy first, sell later)
You go long when you expect price to rise.
- Buy to open
- Sell to close
5.2.2 Short (sell first, buy later)
You go short when you expect price to fall.
- Sell to open
- Buy to close
This is natural in futures, so you don’t need special borrowing or complicated steps.
Important beginner note:
Short does not mean “dangerous.” Oversizing is dangerous.
Short is just a direction.
5.3 The 3 decisions that define your trade BEFORE entry
A professional defines these before clicking buy/sell:
- Where am I wrong? (stop location)
- Where can I reasonably exit? (target / management plan)
- How much will I lose if wrong? (position sizing)
If you can’t answer these, you are gambling.
5.4 The trade lifecycle (step-by-step like a professional)
Here is the lifecycle that professional traders follow.
Step 1: Context (what kind of day is it?)
Before you trade, you define the environment:
- Trending day?
- Range day?
- High volatility or low volatility?
- News day?
- Holiday / low liquidity?
Context matters because the same setup performs differently in different environments.
Example:
- A breakout works better on trending/high-energy days.
- A range fade works better on slow, rotational days.
Step 2: Scenario (bullish or bearish plan)
A pro doesn’t just say “I feel bullish.”
They create a scenario:
- “If price holds above X, I will look for longs.”
- “If price rejects at Y, I will look for shorts.”
This stops emotional guessing.
Step 3: Setup (what pattern are you trading?)
A setup is your repeatable “reason.”
Examples of simple setups:
- Breakout + pullback (retest)
- Trend pullback to support/resistance
- Range high/low fade (mean reversion)
- Failed breakout (“trap” pattern)
You don’t need 20 setups. One or two is enough.
Step 4: Entry trigger (what confirms you’re entering now?)
A setup is not an entry.
A setup is a situation.
A trigger is the rule that says “enter now.”
Triggers examples:
- Candle close above a level
- Break and retest confirmation
- Break of a micro-structure high/low
- Volume spike + hold above level (advanced)
The trigger protects you from early entries.
Step 5: Stop placement (where you are wrong)
A stop is not chosen by “how much I can afford.”
A stop is chosen by:
- the point where your trade idea is proven wrong.
Examples:
- Below support if you’re long
- Above resistance if you’re short
- Above the “trap” high if fading a failed breakout
Golden rule:
Stop goes where the thesis breaks, not where your emotions feel comfortable.
Step 6: Target or management plan
You need an exit plan:
- Fixed target
- Partial exits (scale out)
- Trailing stop
- Time-based exit
Beginners do best with simple approaches:
- one target,
- one stop,
- one clear plan.
Complex management often becomes emotional management.
Step 7: Position sizing (convert your stop into dollars)
This is where most beginners fail.
Use the sizing formula:
- Risk per contract = stop ticks × tick value
- Contracts = floor(max risk per trade ÷ risk per contract)
If max risk per trade is $75:
- you must size so your stop loss equals ~ $75 (not $200, not $300).
Step 8: Execution (choose your order type)
Your order type affects fills and slippage:
- Market: fast but can slip
- Limit: precise but may not fill
- Stop entry: enters only after price confirms
We’ll go deep in the next section.
Step 9: Trade management (do not sabotage yourself)
Management rules should be planned.
Common pro rules:
- Don’t move stop further away.
- If price goes in your favor, you can tighten stop by rule.
- If the market becomes chaotic, reduce risk or exit.
The biggest “management” skill is doing nothing.
Step 10: Exit
Exit happens by:
- stop hit,
- target hit,
- management rule,
- time rule.
Good exits follow rules. Bad exits are emotional.
Step 11: Review and journal (where profit is created long-term)
The trade is over. Now the learning begins.
A professional journals:
- screenshot entry + exit
- reason for trade
- whether rules were followed
- what can improve
Without review, you repeat mistakes forever.
5.5 Order types inside a trade (what to use and when)
5.5.1 Market order
Use when:
- speed is critical,
- you accept slight slippage.
Risk:
- during volatility, fills can be worse than expected.
5.5.2 Limit order
Use when:
- you want a precise entry price,
- your strategy depends on accuracy,
- you accept missing trades.
Risk:
- market might move without filling you.
5.5.3 Stop order (for entry or exit)
Stop orders can:
- enter momentum trades (breakout entries),
- protect positions (stop-loss).
Risk:
- can slip during fast markets.
5.5.4 Bracket orders (best for discipline)
A bracket includes:
- entry,
- stop-loss,
- profit target.
This is the most beginner-friendly professional tool because it removes “I’ll place stop later.”
5.6 Real trade walkthrough #1: breakout + pullback (long)
Let’s build a realistic example.
Context
- Market opens and breaks above a key range.
- You see price push up strongly (momentum).
- Instead of chasing, you wait.
Scenario
- “If price pulls back to the breakout level and holds, I will buy.”
Setup
- Breakout + pullback to support.
Trigger
- Price dips to the level, then closes back above it.
- Or breaks a small lower-timeframe high.
Stop
- Below the breakout level (where thesis fails).
Target
- Next resistance / measured move.
Sizing
- Tick value = $5
- Stop distance = 14 ticks → risk per contract = $70
- Max risk = $70 → 1 contract
Management
- If price moves +10 ticks in favor, move stop to reduce risk (only by rule).
- If price becomes choppy, exit early (only if your plan allows).
Outcome thinking
Even if you lose:
- you traded a repeatable plan,
- risk was controlled,
- you can take the next A+ trade.
This is a professional trade.
5.7 Real trade walkthrough #2: failed breakout (“trap”) (short)
Trap patterns are common in futures because liquidity hunts stops.
Context
- Price breaks above a high.
- Retail traders chase long.
- Then price rejects sharply back below.
Scenario
- “If price breaks and fails above the high, I will short the failure.”
Setup
- Failed breakout reversal.
Trigger
- Price returns below the breakout level and holds.
- You enter on a retest from below.
Stop
- Above the trap high.
Target
- Back to range midpoint or prior support.
Why it works
You are trading:
- trapped buyers,
- forced selling,
- momentum shift.
Why beginners fail it
They enter too early, before the failure is confirmed.
That’s why triggers matter.
5.8 Expiration and rolling (what traders must understand)
Futures contracts expire. Most day traders avoid holding close to expiration.
5.8.1 What “rolling” means
Rolling means switching from a contract nearing expiration to the next active month.
Liquidity tends to move to the next contract before expiration.
Beginner rule:
Trade the contract with the highest liquidity (volume and clean spreads).
5.8.2 Why expiration matters even for day traders
Near expiration you might see:
- wider spreads,
- lower liquidity,
- weird movement.
So always know:
- what contract month you’re trading.
5.9 The “professional trade checklist” (use this before every entry)
If you can’t check all boxes, don’t trade.
- I know tick value ✅/❌
- I know my stop distance (ticks) ✅/❌
- I know my risk per contract ($) ✅/❌
- I know my contracts allowed ✅/❌
- I know my invalidation point ✅/❌
- I know my target/management plan ✅/❌
- I know my order type ✅/❌
- I accept the loss if wrong ✅/❌
Trading is not prediction. It’s structured decision-making.
Chapter 5 — Trader Tools (Original Templates)
Template 1: Trade plan card (print and fill)
- Market: ______
- Date/Session: ______
- Context: trend / range / volatile / news
- Setup: ______
- Trigger: ______
- Entry price: ______
- Stop price: ______
- Stop distance (ticks): ______
- Tick value: $______
- Risk per contract: $______
- Contracts: ______
- Target price: ______
- Reward (ticks): ______
- R:R estimate: ______
- Notes after trade: ______
Template 2: Simple journal (fast but effective)
|
Trade # |
Setup |
Followed rules? |
Result (R) |
Mistake? |
Fix |
|
1 |
____ |
Yes/No |
_ |
____ |
____ |
|
2 |
____ |
Yes/No |
_ |
____ |
____ |
Track “R” (risk units), not just dollars. It makes improvement clearer.
Template 3: Execution rule set (beginner-friendly)
- No entry without bracket order
- No stop movement away from entry (ever)
- Max 3 trades/day
- Stop trading after 2 consecutive losses
- Only trade 1–2 setups
This creates discipline fast.
End-of-Chapter Exercise (do this to level up)
Pick your main market and fill:
- Tick value = $____
- Typical stop size = ____ ticks
- Risk per contract = $____
- Max risk per trade = $____
- Contracts allowed = ____
- Your A+ setup = ____
- Your trigger rule = ____
- Your stop rule = ____
- Your exit rule = ____
If you can answer these without guessing, you’re trading like a professional.